LLM Applications
LLM Applications
Getting Started
Are you interested in developing innovative applications using Large Language Models (LLMs)? DAIANA STUDIO is the ideal tool for this. In this chapter, we will learn how to bring your ideas to life easily and effectively, and create applications that interact with users.
With DAIANA STUDIO, you can create a wide range of applications, such as chatbots, question-answering systems, and information retrieval agents, all based on natural language processing. Its flexibility and customization options allow you to quickly develop solutions tailored to your needs. Let's take the first step to make your ideas a reality. With DAIANA STUDIO by your side, let's explore new possibilities together!
Getting Started: Your First LLM Application
Here we will create a simple LLM application using DAIANA STUDIO and explain how it works.
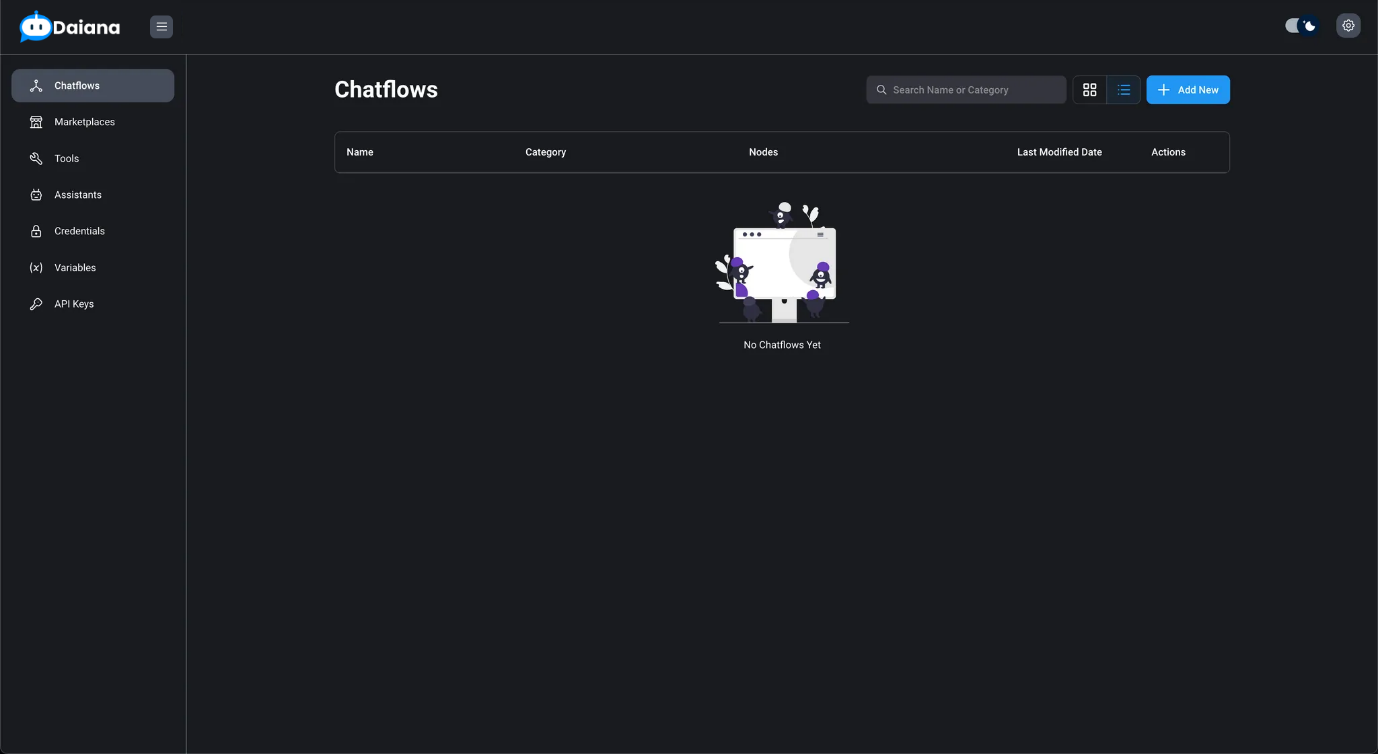
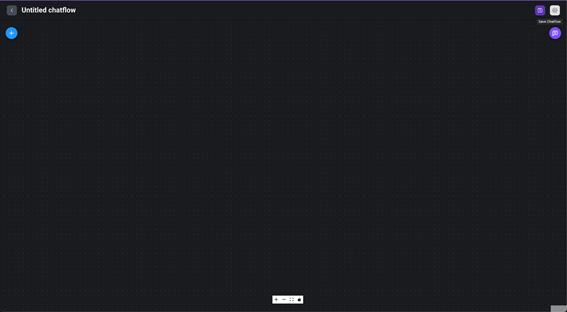
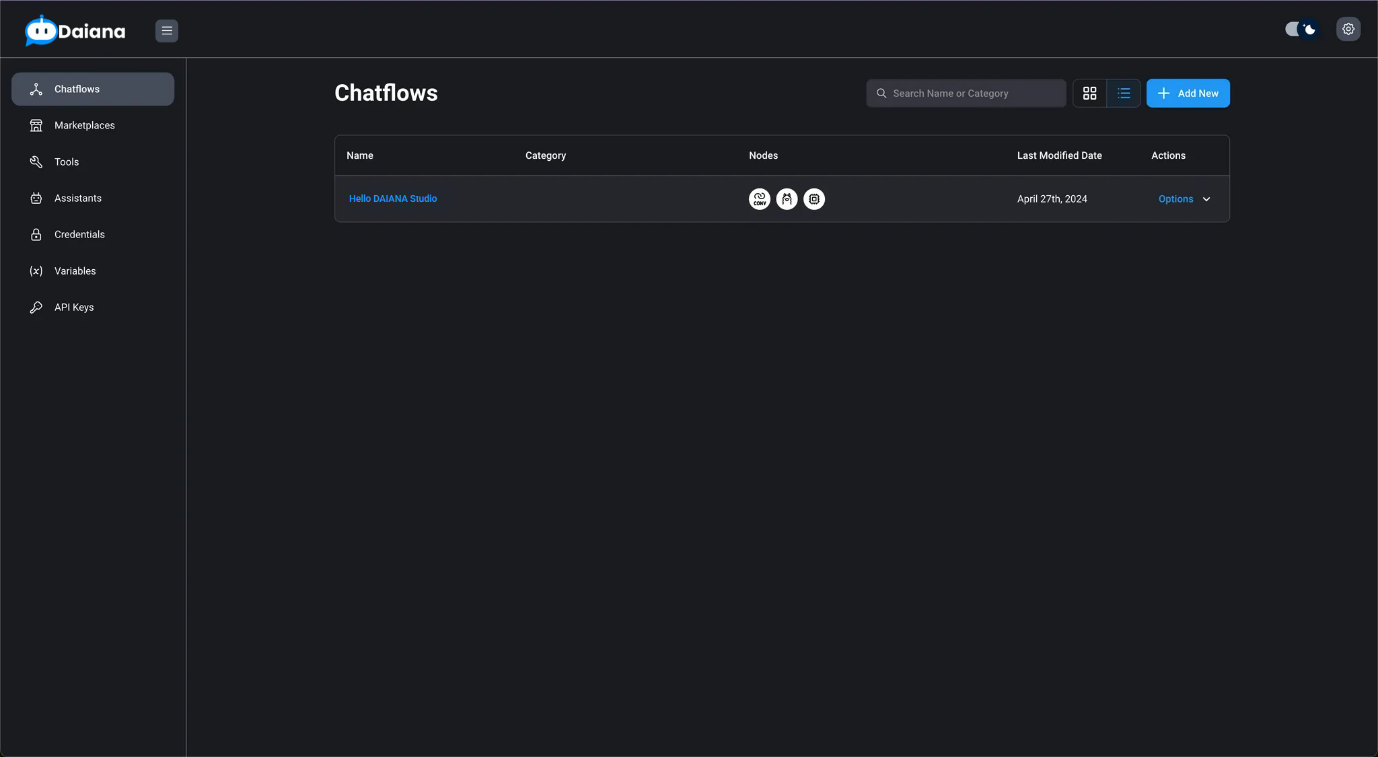
Create a New Chatflow
- Click the Add New button to create a new chatflow.
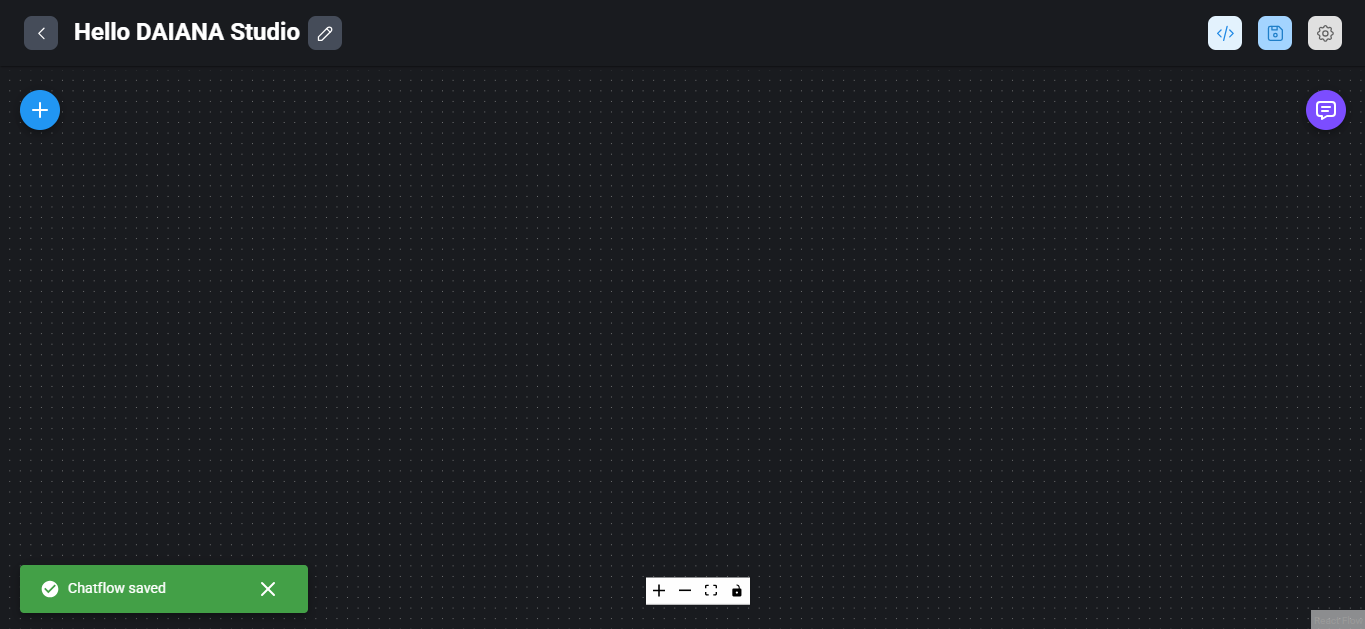
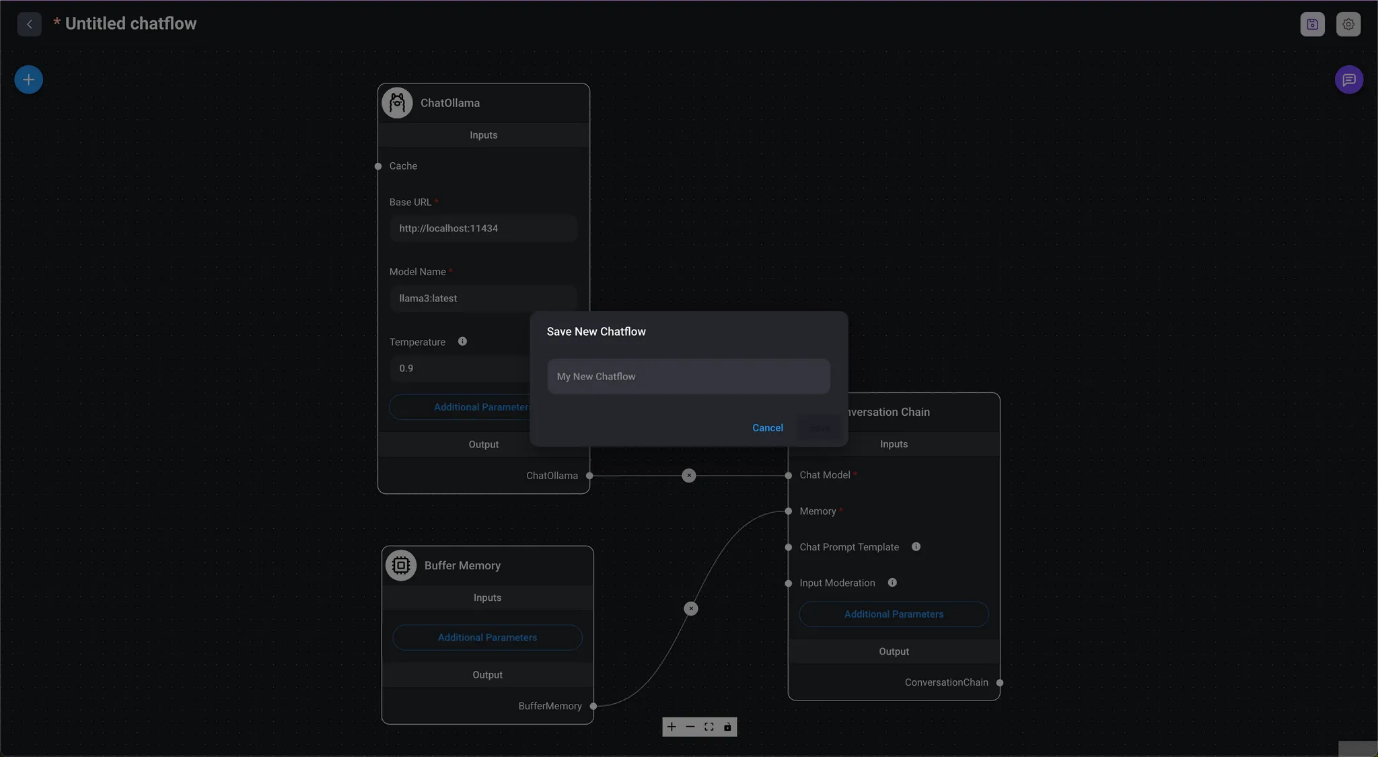
- Click Save Chatflow and set a name, for example, Hello DAIANA STUDIO.
- Type Hello, DAIANA Studio in the dialog box and click the Save button.
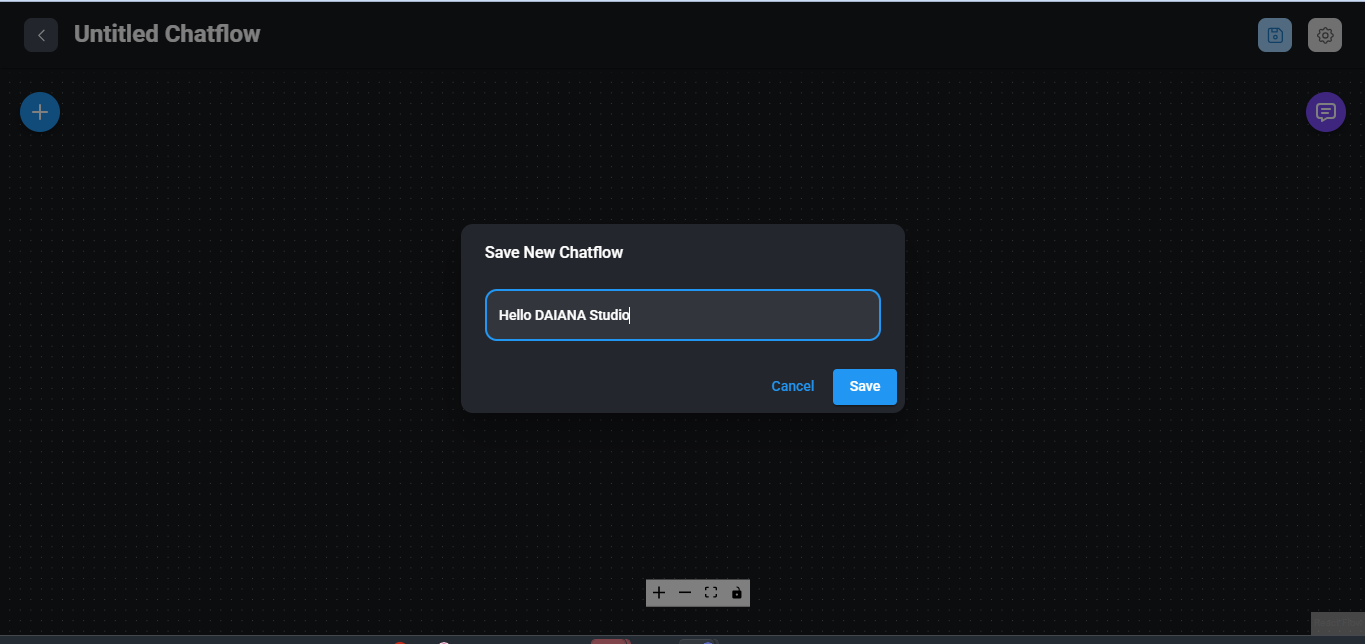
- A Chatflow named Hello, DAIANA Studio has been saved.
Create a Chain
- Drag and drop the Chains / Conversational Chain from the Add Nodes button to the chatflow.
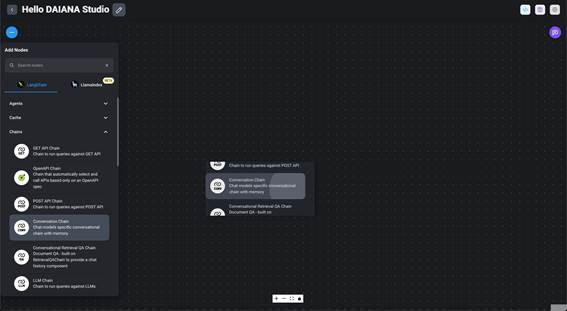
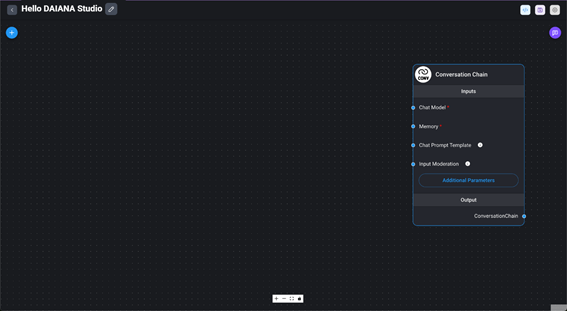
- A Conversational Chain node will be created in the chatflow after dropping it.

- Drag the Conversational Chain node in the chatflow and move it to the right for the next operation.
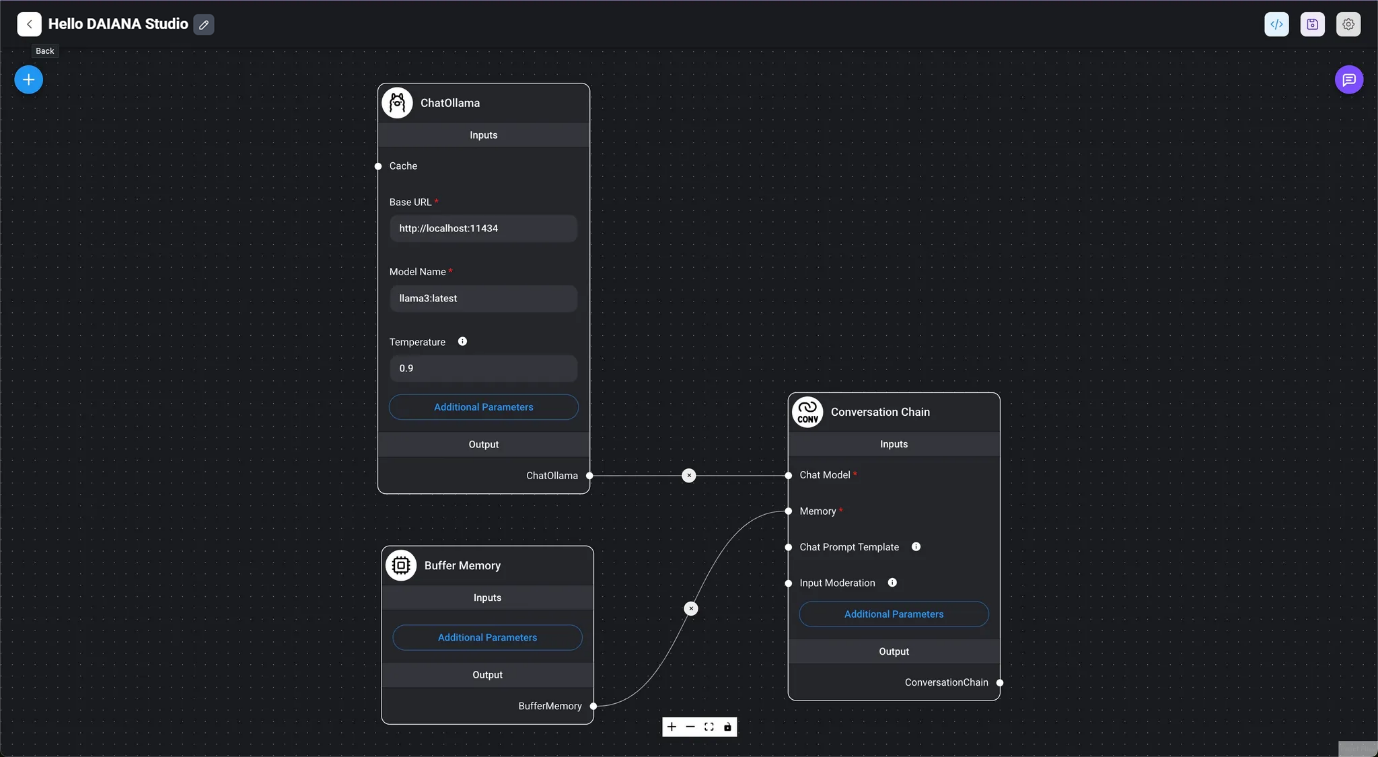
Create a Chat Model
- From the Add Nodes button, scroll through the list of nodes under Chat Models until you find the "ChatOllama" node.
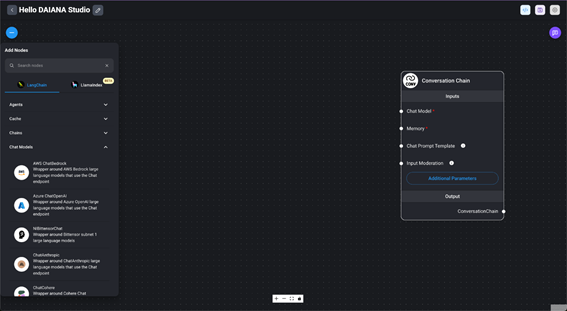
- Drag the "Chat Models / ChatOllama" node and drop it into the Chatflow.
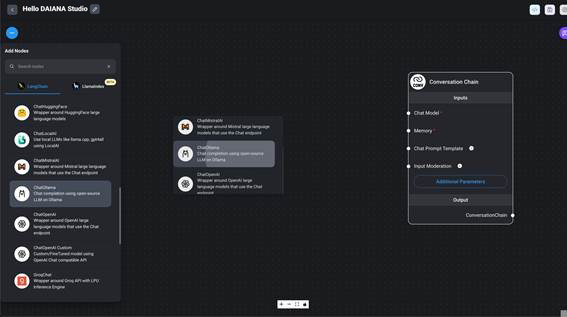
- A "ChatOllama" node will be created in the chatflow after dropping it.
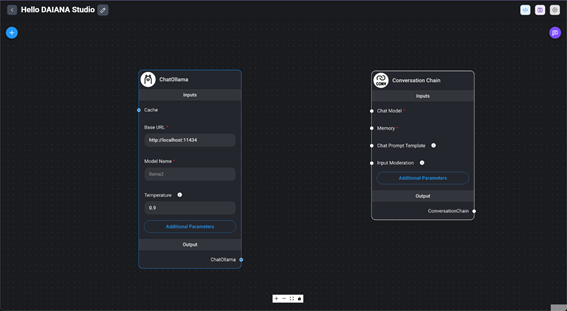
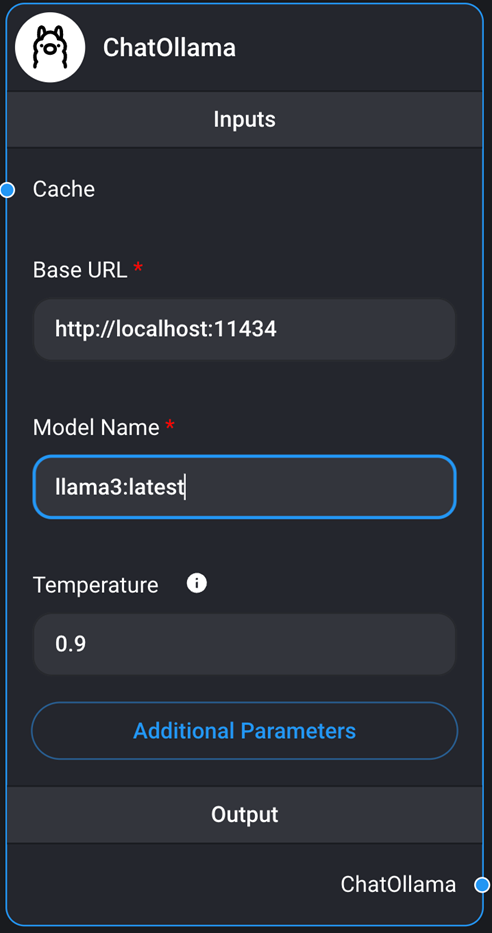
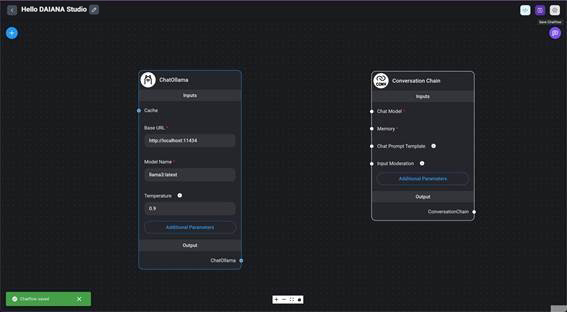
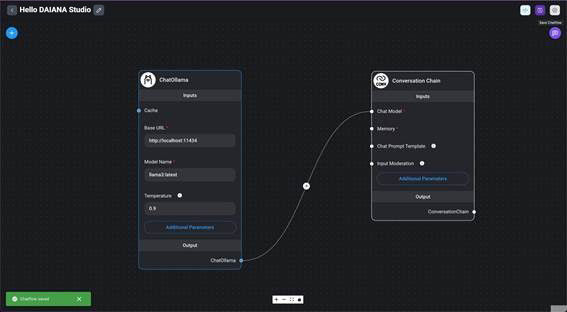
- Set "llama3:latest" as the model name for the "ChatOllama" node in the chatflow.
- Click Save Chatflow to save the creations made so far.
Connect the "ChatOllama" node to the Conversational Chain node.
- Drag the output of the "ChatOllama" node with the mouse cursor and set it as input for the Chat Model in the Conversational Chain node.

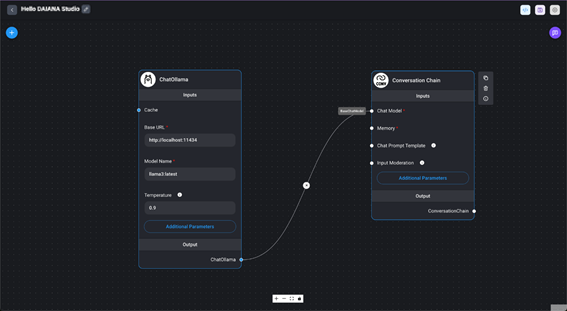
- Click Save Chatflow to save the creations made so far.
Create Memory
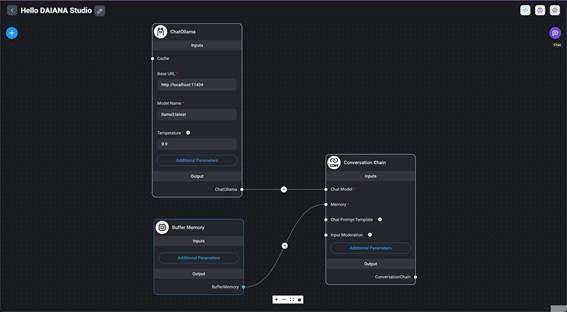
- From the Add Nodes button, drag the Memory / Buffer Memory node and drop it into the chatflow.

- To facilitate editing, adjust the arrangement of the nodes by selecting them with the mouse cursor and dragging them to move them.

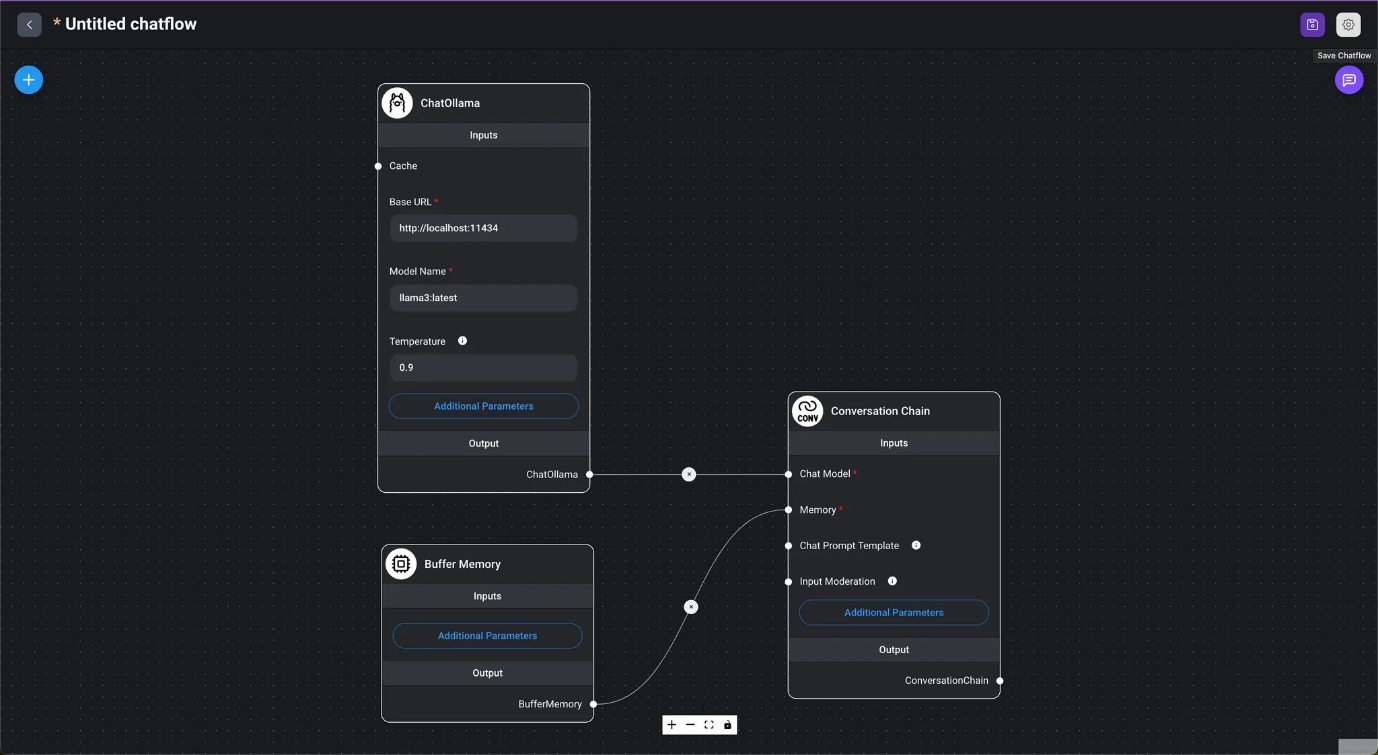
Buffer Memory
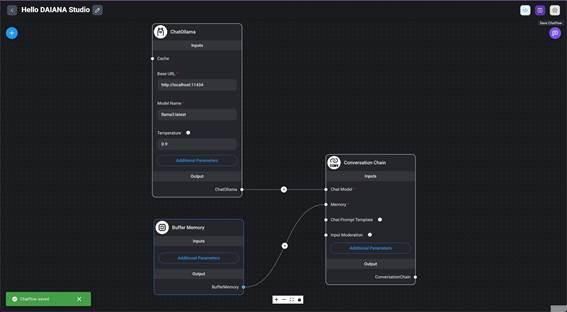
Connect the Buffer Memory node to the Conversational Chain node.
- Drag the output of the Buffer Memory node with the mouse cursor and set it as input for the Memory in the Conversational Chain node.

- Click Save Chatflow to save the creations made so far.
Using LLM Applications
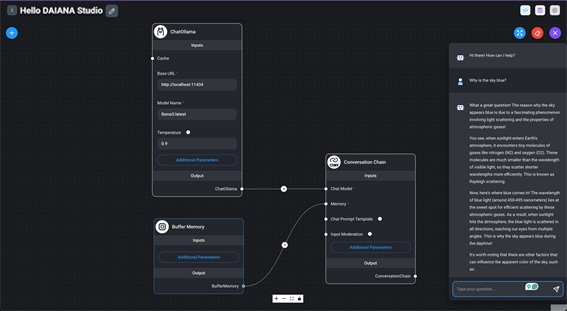
- Click the Chat button to display the chat dialog box for the LLM application Hello DAIANA STUDIO.
- Type Why is the sky blue? in the chat dialog box and check that you receive a response similar to the image. If so, it means it worked.
Basic DAIANA STUDIO Operations
Here are some features of DAIANA STUDIO used in this article that were not covered in Introduction to your first LLM application. They are explained here.
Navigating from a Chatflow to the Main Screen
- You can navigate from the chatflow named Hello, DAIANA STUDIO to the main screen using the Back button on the left. It is recommended to click Save Chatflow before exiting to save your creations.

- You have returned to the top screen. Click to use this alternative.
Navigating from the Top Screen to a Chatflow
Click with the mouse cursor on the name of the chatflow you want to edit in the list of chatflows on the top screen.
- Navigate to the chatflow.
Editing the Chatflow Name
- To edit the name of the chatflow Hello, DAIANA STUDIO, click the Edit Name button on the right.
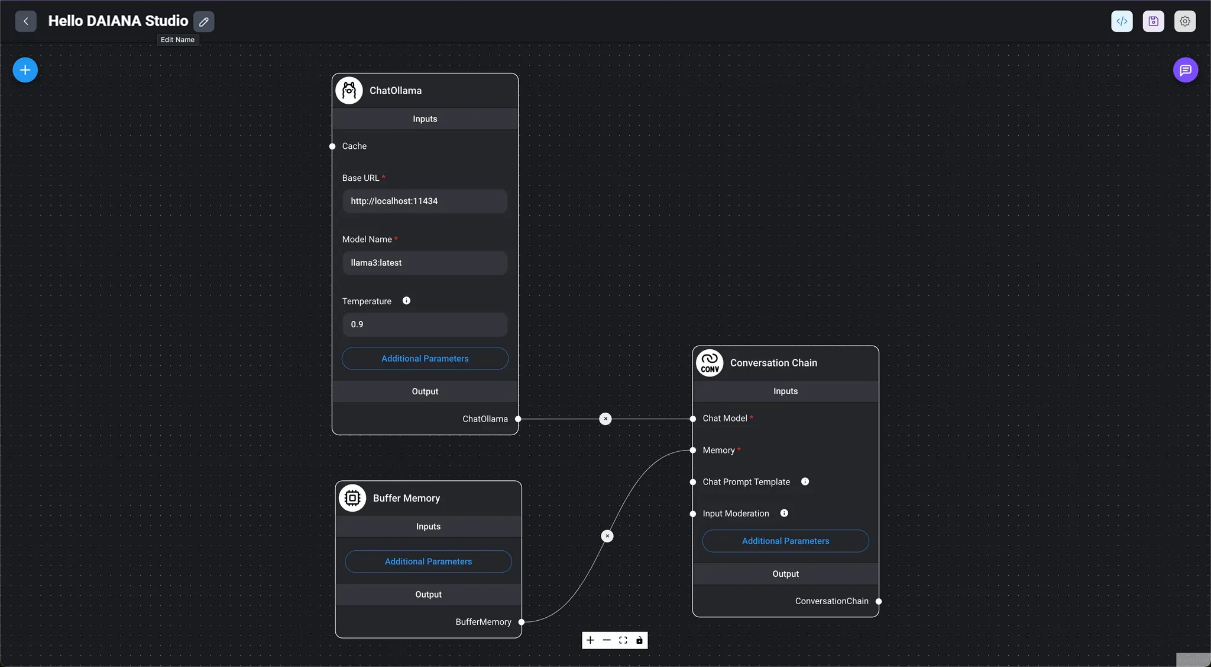
After changing the chatflow name, you can save it by clicking the Save Name button on the right, or cancel the changes by clicking the Cancel button. After making changes, it is recommended to click Save Chatflow to save what has been created so far.

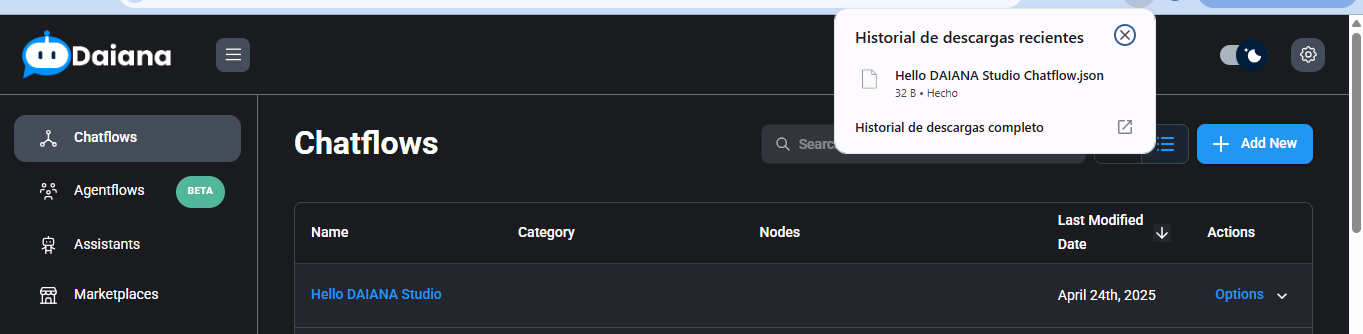
Export a Chatflow
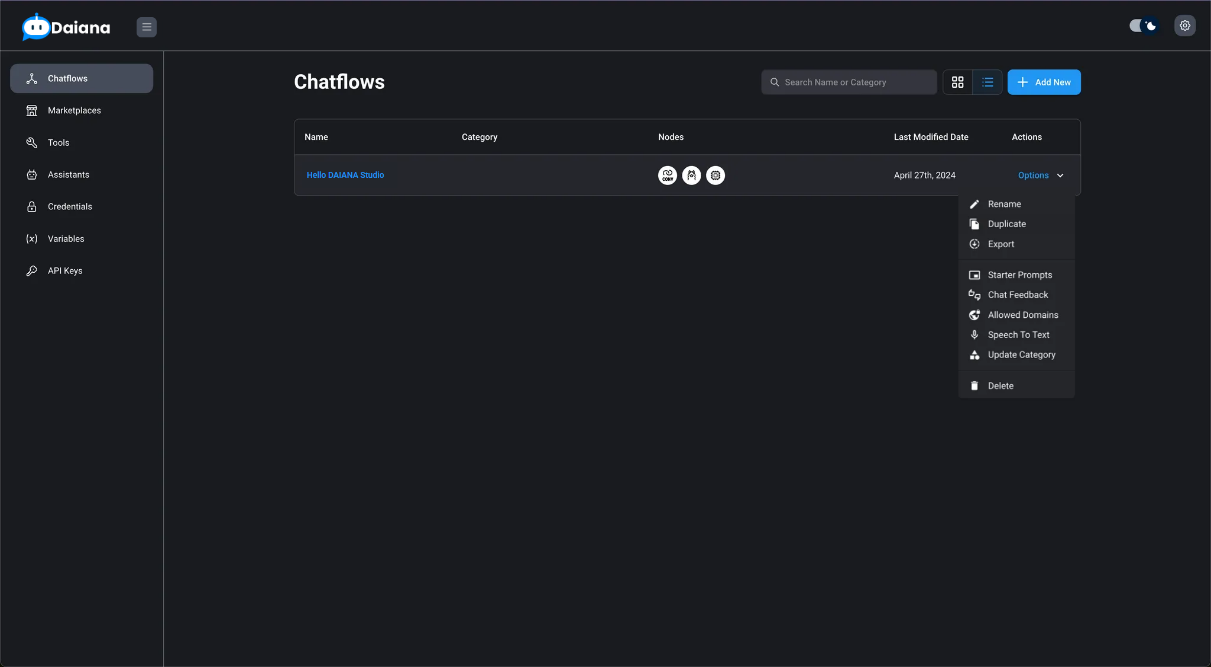
- In the Options menu of a chatflow in the Chatflows list, select Export to start the export process.

- A file will be saved in your browser's downloads folder.
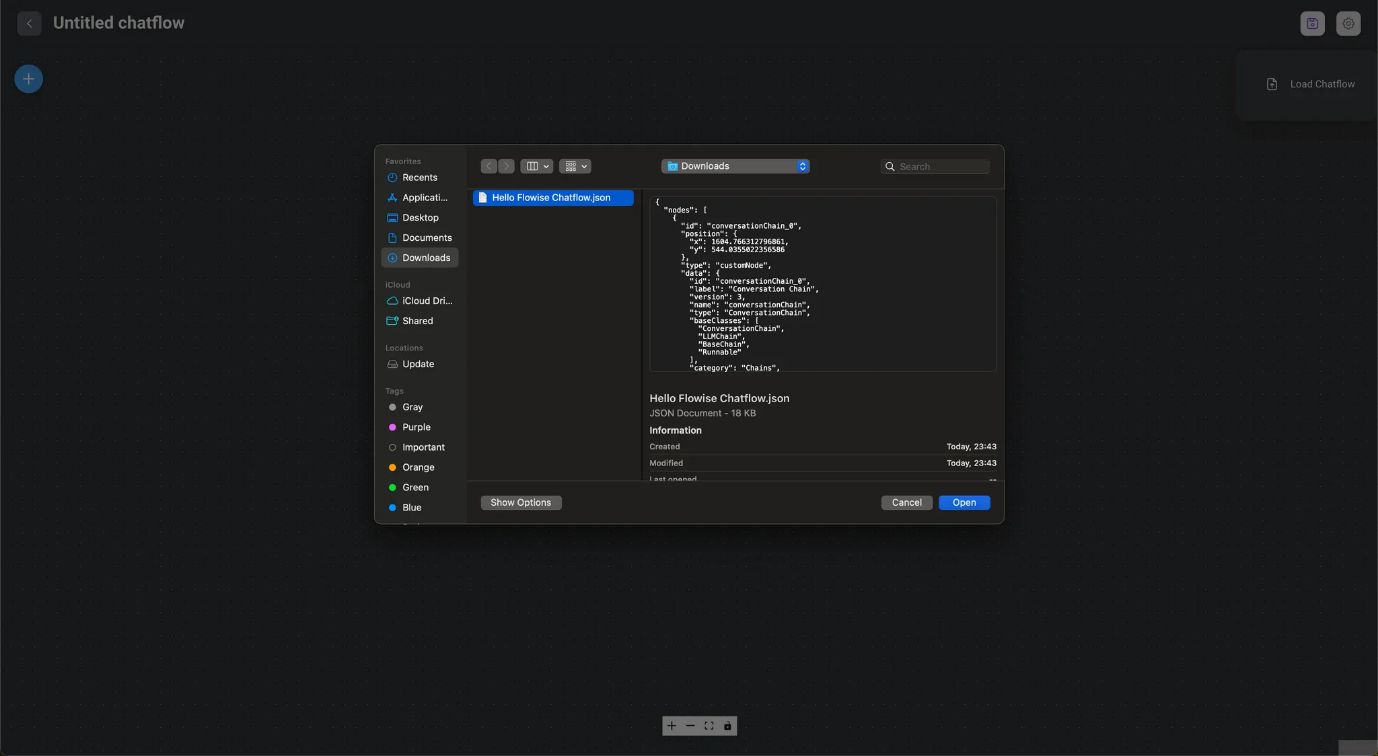
Import a Chatflow
- Click the Add New button to create a new chatflow.

- Select Load Chatflow from the Settings button.

- Select a Chatflow file and click the Open button.
- Click Save Chatflow to rename the chatflow.

- For more information, see Create a New Chatflow.
Duplicate a Chatflow
- In the Options menu of the original chatflow in the Chatflows list, select Duplicate.
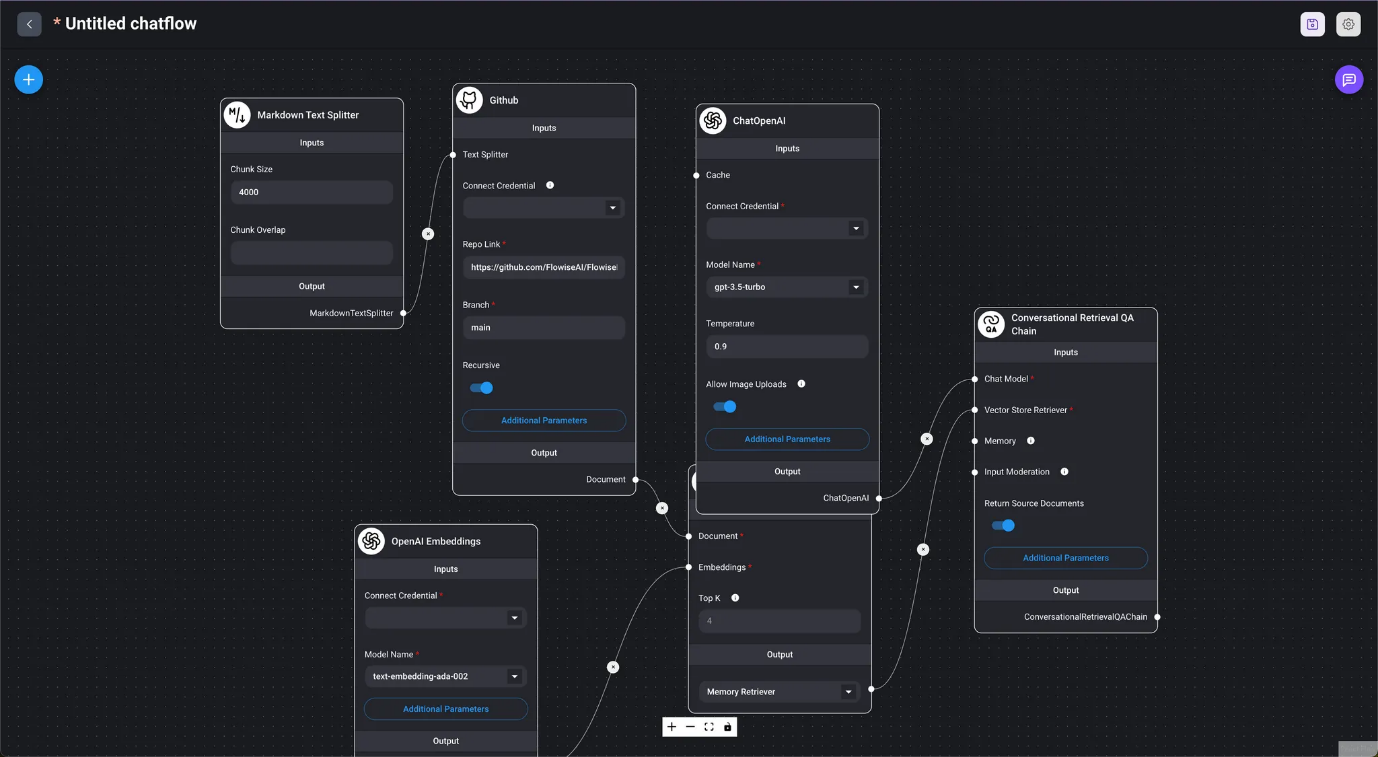
- You have imported the original chatflow into a new chatflow. Click Save Chatflow to rename the chatflow as needed.
- For more information, see Creating a New Chatflow.

Marketplace
- Templates for each use case are available in the Marketplace.
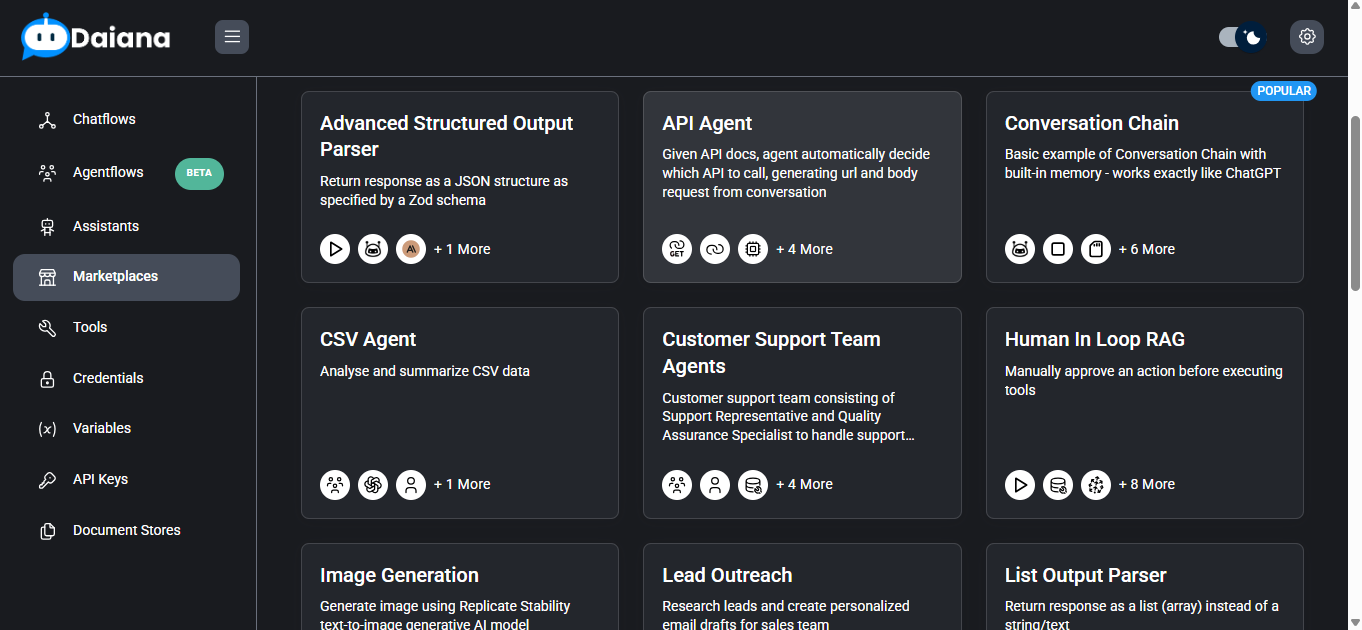
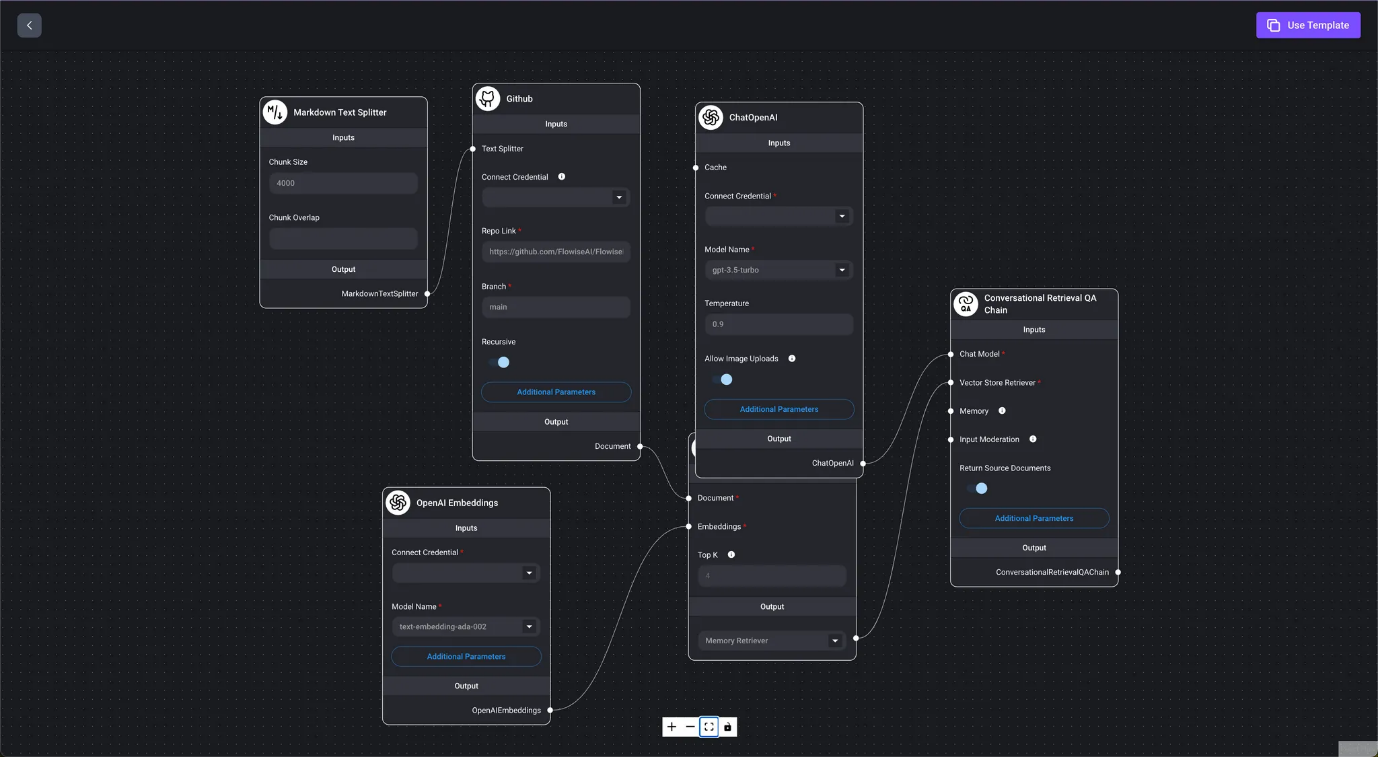
Select a template, and when the chatflow opens, click the Use Template button to access a state similar to that described in Duplicate a Chatflow.
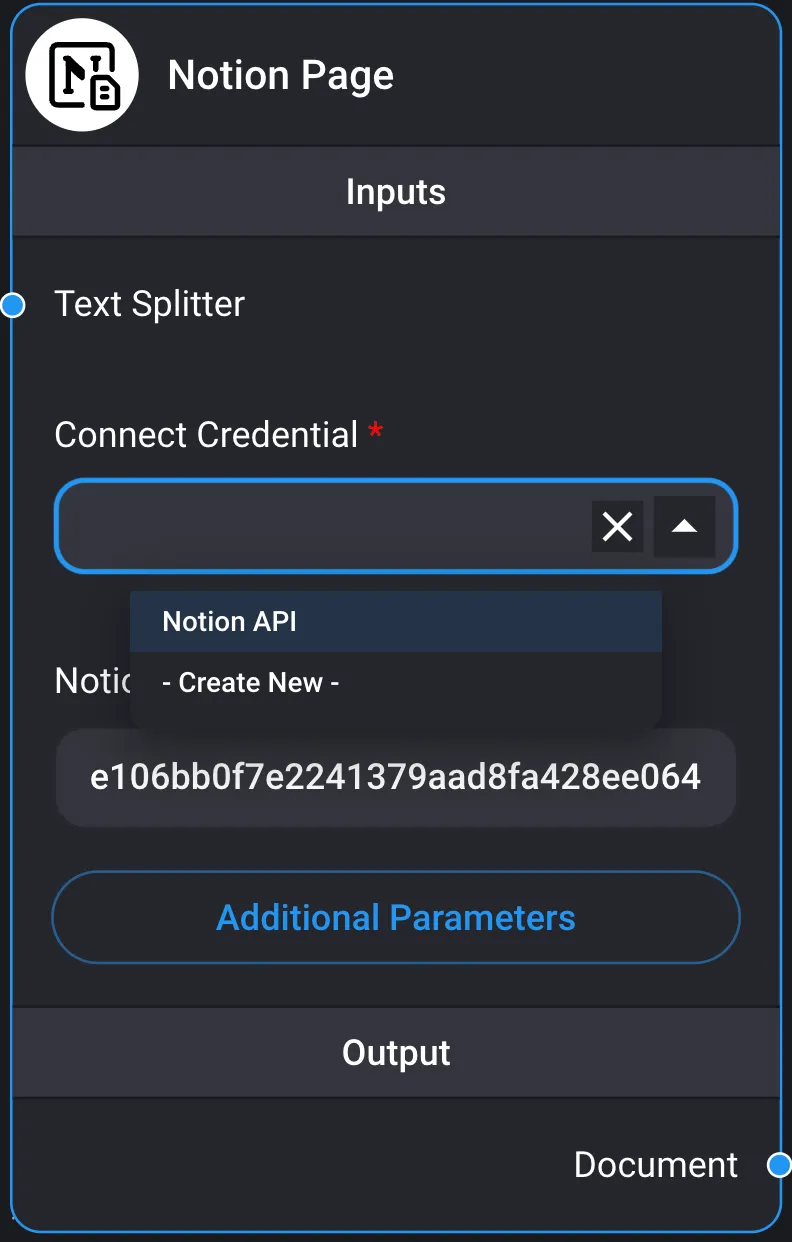
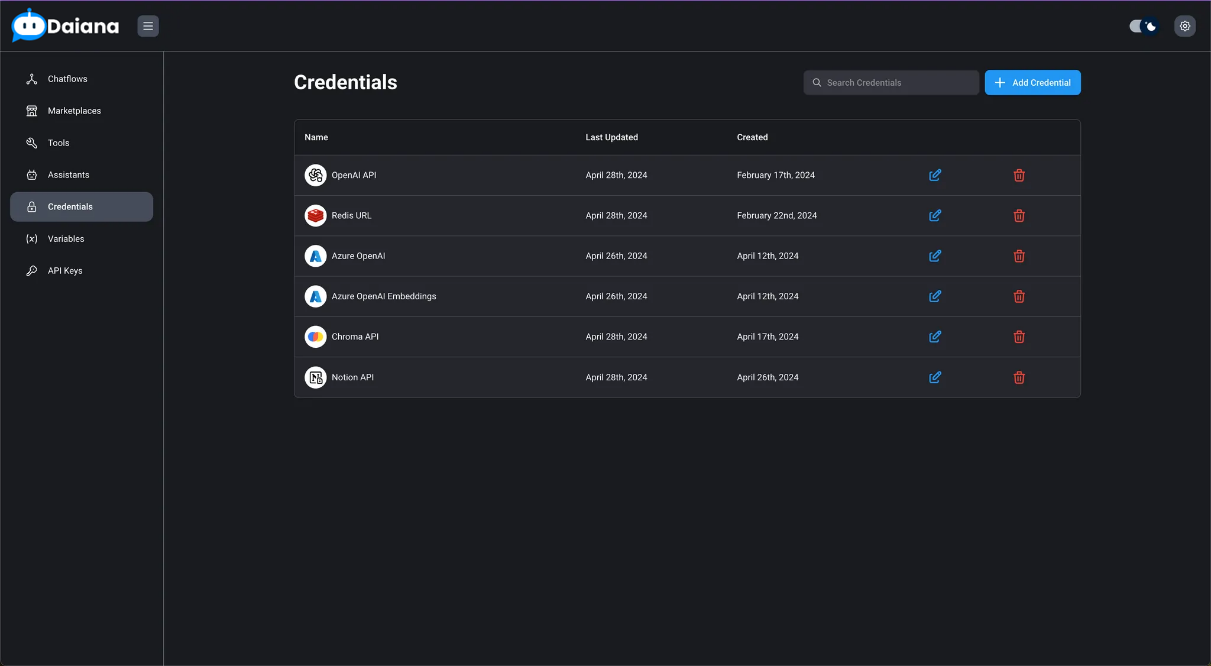
Credentials
- When using cloud services or similar, connection information such as credentials is stored in Credentials. You can create a new credential or select an existing one for nodes that require connection information.
- Usage example