Security
Security

The Security screen in Daiana allows administrators to manage platform users, including creating, editing, and deleting user accounts. It also offers an overview of user roles and statuses.
Screen Components
1) Top Navigation Bar:
- Tenant: Identification of the Tenant associated with the logged-in user.
- Navigation Menu: Includes the Home, Virtual Assistants, Chats, Teams, Security, and Conversations sections.
- Plan Indicator: Shows the user's current plan (e.g., Enterprise).
- Theme Icon: Access to platform theme types (e.g., Dark).
- User Profile: Access to profile settings and user options.
2) Security Header:
- Title: “Security” indicates the current section of the platform.
- “Download Users” Button: White button on the right allowing the download of the user list in XLSX format.
- “Massive Upload” Button: White button on the right allowing team member invitations.
- “Massive Upload” Button: Blue button on the right allowing the addition of a new user.
3) Search Bar:
- Search Field: Text box where administrators can enter terms to search for specific users.
4) User List:
Columns:
- User: User name and profile image.
- Email: User's email address.
- Role: Role assigned to the user. Available roles in the application are:
- Admin: This role enables access to all functionalities.
- Creator: With this role, the user can only create virtual assistants. Cannot manage teams or users.
- User: The user can only chat with virtual assistants. Cannot manage teams, users, or virtual assistants.
- Phone: User's contact phone number.
- Status: User's current status (e.g., Active, Inactive).
- Edit: Pencil icon to edit user information.
- Delete: Trash icon to delete the user.
Procedures and Functionalities
1) Create a New User:
- Click the “Create User” button.
- Complete the form with the required information, including name, email, role, phone, and status.
- Click “Save” to add the new user.
2) Search for a User:
- Enter the name, email, or other relevant information in the search field to locate specific users quickly.
3) Edit a User:
- In the “Edit” column, click the pencil icon next to the user you wish to edit.
- Modify the necessary information in the displayed form and click “Save” to update user details.
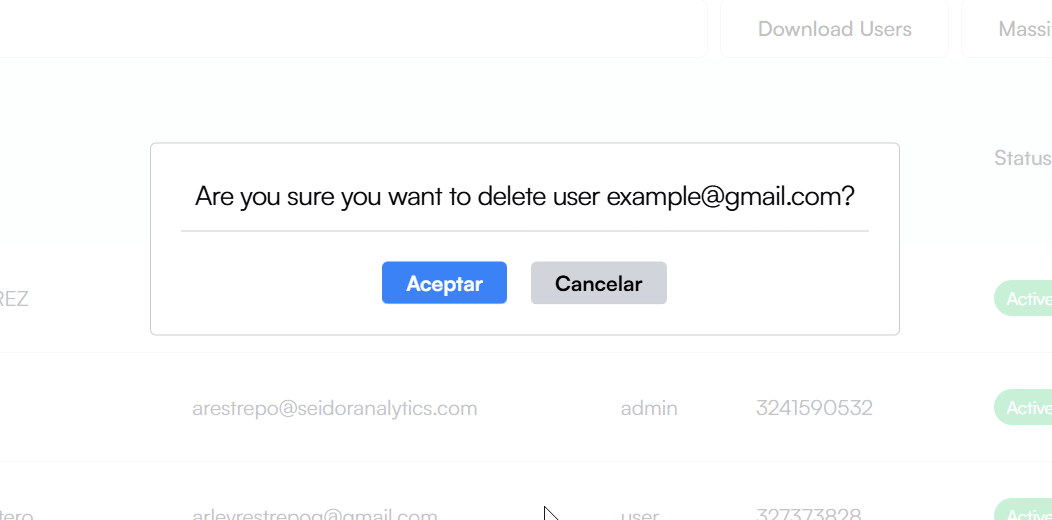
4) Delete a User:
- In the “Delete” column, click the trash icon next to the user you wish to delete.
- Confirm the action in the confirmation dialog to permanently delete the user.
5) Download Users:
- Click the “Download Users” button.
6) Invite team members:
- Click the “Massive Upload” button.
- Invite new team members.
- Click “Send Invitations” to invite new members.
Procedure to create a new user

A) Access the Security Section
- From the top navigation bar, select “Security”.
B) Create a New User:
- Click the “Create User” button.
C) Configure the User
- User Name: Enter the user's name in the corresponding field.
- User Surname: Enter the user's surname in the corresponding field.
- User Email: Enter the user's email in the corresponding field.
- User Password: Enter the user's password in the corresponding field.
- User Phone: Enter the user's phone in the corresponding field.
- User Country: Enter the user's country in the corresponding field.
- User Role: Select the role the user will have.
D) Create the User:
- Click the “Create User” button to save the configuration and create the new User.
Procedure to edit a user
A) Access the Security Section
- From the top navigation bar, select “Security”.
B) Edit a User:
- click the pencil icon next to the team you wish to manage.
C) Configure the User
- User Phone: Enter the user's phone in the corresponding field.
- User Country: Enter the user's country in the corresponding field.
- User Role: Select the role the user will have.
D) Edit the User:
- Click the “Edit User” button to save the configuration and edit the User.
Procedure to delete a user
A) Access the Users Section
- From the top navigation bar, select “Users”.
B) Delete a User:
- click the trash icon next to the team you wish to delete.
- To confirm, click the “Accept” button.
Procedure to invite new team members
A) Access the Security Section
- From the top navigation bar, select “Security”.
B) Invite new team members:
- Click the “Massive Upload” button.
C) Configure the invitation
- Select team: Select the team(s) the invited people will join by clicking the “Add” button.
- Mass invitation: Enter the email addresses of the people you wish to invite. Separate entries by commas, semicolons, pipes, or spaces. Max 100 emails.
D) Send Invitations:
- Click the “Send Invitations” button to save the configuration and send the invitations.